How do I calibrate my monitor?
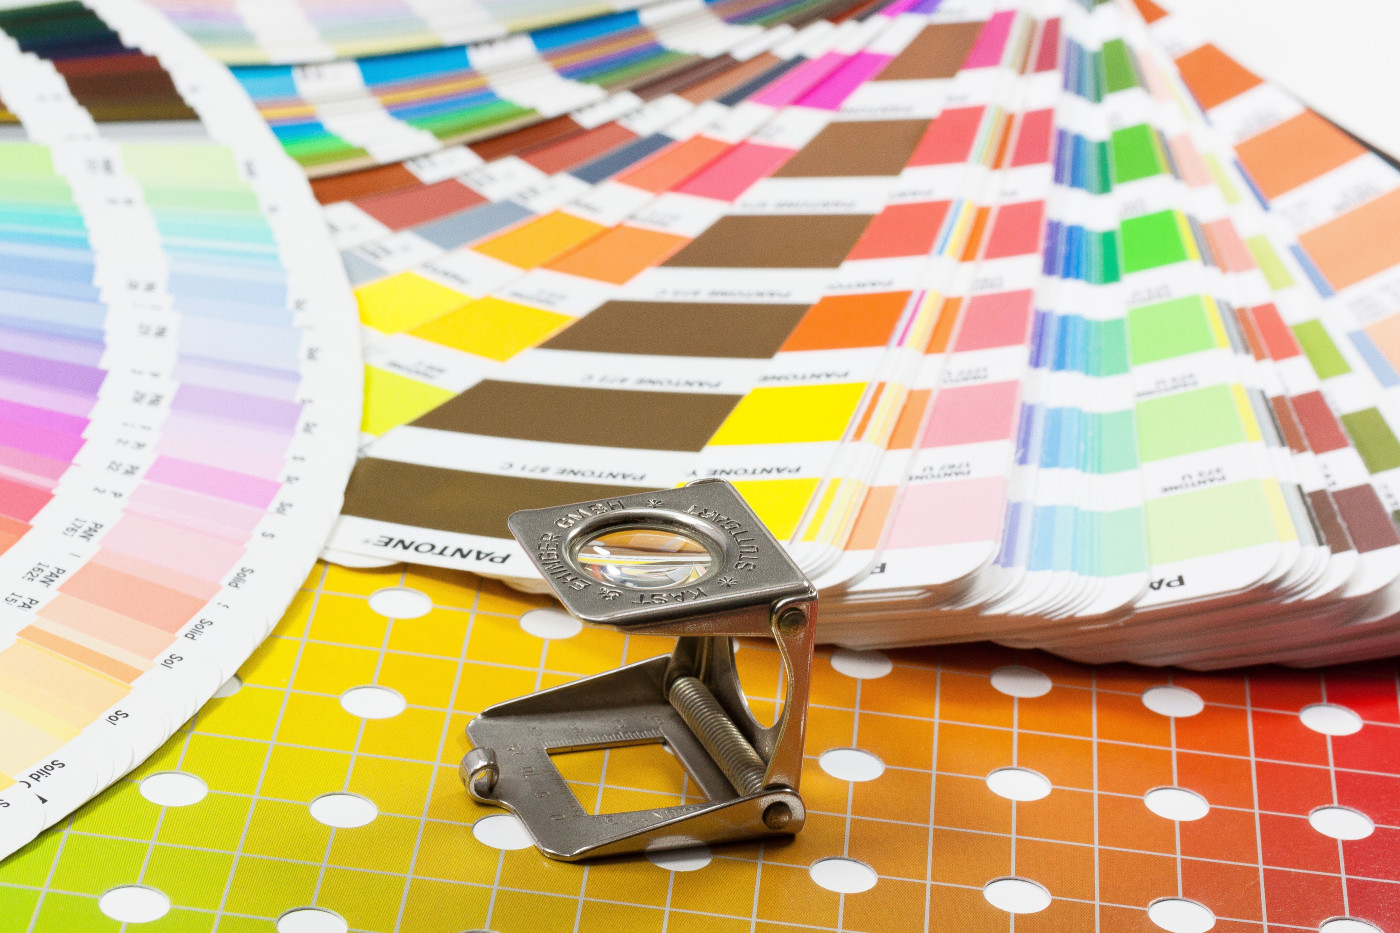
Standard monitors often do not display the colours as they actually correspond to the data. In addition, the monitor at home is often set too bright, which distorts the view on the monitor, especially with photos and images. This can result in the monitor display not matching the printed product.
Only with a calibrated monitor can you achieve the closest possible match between the monitor display and the printed product and thus a satisfactory result and is therefore essential for photo and image processing.
Standard monitors are nowhere near as precise as professional monitors and are therefore only suitable for image editing to a limited extent. Due to the lack of an obligatory reference point for brightness, contrast and colour, the colour representation on standard monitors is rather random and can only be counteracted with regular calibration.
Professional monitors for image processing that are commercially available already have a very good basic calibration and have good panels for optimum colour reproduction and viewing angle stability. However, such monitors are very expensive.
There are basically three types of panel for monitors: IPS panels, VA panels and TN panels. IPS panels are clearly the best choice for photographers. VA and TN panels are not an option for good image or photo editing. There are also OLED panels available today, but these have not yet reached real market maturity.
We therefore recommend a monitor with an IPS panel for photographers and others interested in image processing.
Basic setting
In most cases, the following values can be set for monitors:
- Colour temperature 6500° Kelvin
- Brightness 60-120 candela/m2
- Gamma 2.2
If the monitor is correctly adjusted and calibrated, it is also possible to simulate the print before ordering an image. Such a simulation is usually referred to as a soft proof in colour management capable programs. You can find more information on this in the article Colour management.
Software calibration
Of course, software calibration cannot bring a poor monitor up to the level of a high-end monitor. However, it can compensate for the problems of a less good panel and ensure a clearer colour display and possibly also improved brightness. This requires a colour profile that must be created individually for each monitor.
With Windows 10, you can find the setting by entering "Calibrate screen colour" in the search field and following the corresponding procedure. With Mac OS X, this is also possible via software, but here you need a sense of proportion. Manual calibration can be found in the system settings under Monitors. In the Colours tab, you can start the manual calibration by clicking on Calibrate. However, this software calibration is prone to errors and depends heavily on the calibrating user's eyesight. The user must evaluate colour values, brightness and contrast for the ICC profile without technical assistance. This method also depends on other factors such as ambient light. For example, a monitor calibrated manually in daylight may look less good in other lighting conditions.
We therefore clearly recommend hardware calibration.
Hardware calibration
Hardware calibration is the more accurate and reliable type of calibration. This is because the error source of the human eye is eliminated with this variant and ensures a significantly better calibration than would be possible manually, even with inexpensive monitors. This type of calibration is relatively simple and works with a calibration device, which is available from around CHF 100.
There are currently good products on the market from Datacolor and X-Rite available in different price ranges. The price differences can be explained by better, more precise hardware on the device itself and, above all, by the associated software. The more expensive devices usually offer many options and often also enable colour optimisation on several devices such as printers or scanners as well as on mobile devices such as tablets and smartphones. They can also measure the ambient light and adjust the monitor accordingly during operation. For many users, however, the simple calibration devices are sufficient as they already offer a significant improvement in colour brilliance compared to an uncalibrated monitor.
If you are unsure whether and which calibration device you should purchase, we can offer you help. For CHF 20 per week excluding postage, you can order the Spyder 5 Studio from Datacolor to borrow. CHF 5 will be charged for each additional day. Simply contact us by e-mail at info@printolino.ch or by telephone on 041 541 92 92.
Instructions for calibration with the Spyder 5 from Datacolor
The calibration process is actually quite simple and takes less than 5 minutes. The software (supplied as a download link) guides you step by step through the calibration of your monitor. The calibration device is connected to your computer via USB. As a result, you receive an ICC profile that contains the necessary colour information for the calibrated monitor. This is clicked on at the end and activated.
The image on the monitor often appears somewhat strange to the user at first. The eye has to get used to it and after a few days at the latest, the new colour profile should no longer be noticeable.
Here you will find the instructions for the Spyder 5 from Datacolor:
Monitors can lose their brightness over time. Therefore, repeat the calibration of the monitor regularly every 3 months. Once the monitor has been calibrated, never change the brightness, colour or contrast of the monitor.
You can find more interesting information on this topic in the blog post Colour management at printolino.